Study Without Pain: 5 Ergonomic Desk Setup Ideas
We may earn a commission for purchases made using our links. Please see our disclosure to learn more.
Many students don’t realize that their study setup might be working against them. A desk that’s too high, a chair that doesn’t fit, or a screen placed too low can quietly drain your energy and focus. The result? Fatigue creeps in, and productivity slips away. The great thing is, solving these issues is easier than you’d expect. With a few smart ergonomic desk setup ideas, you can transform your study space into a supportive, comfortable environment that works with your body—not against it. Here are five ways to study without pain, improve posture, sharpen attention, and make every hour at your desk count.
Why Ergonomics Improves Learning
Physical Comfort Equals Mental Focus
A recent study published in the journal Sustainability examined ergonomic factors affecting student motivation and academic attention. The results revealed that poorly designed study environments contribute to musculoskeletal pain and decreased learning engagement. Conversely, students who worked in well-designed, ergonomic spaces displayed higher motivation and longer attention spans.
Seating Comfort & Concentration
Another study discussed by ISKU explored how ergonomic chairs enhance concentration. The research found that comfortable students maintain focus longer and feel less distracted by physical discomfort. In other words, a well-adjusted chair doesn’t just save your back—it strengthens your mental endurance during study sessions.
Together, these studies confirm that ergonomics is not just about comfort—it’s a science-backed strategy for improving academic performance.
5 Ergonomic Desk Setup Ideas
1. Find Your Perfect Sitting Position
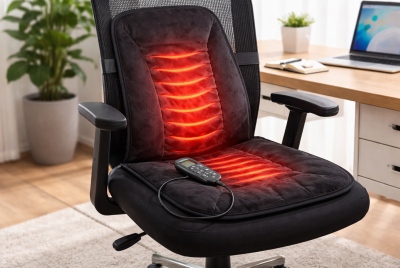
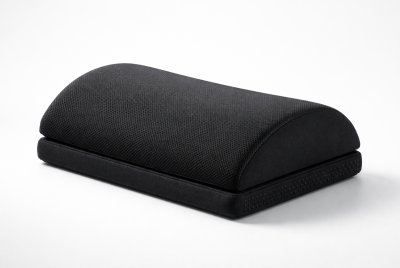
How you sit is one of the key elements of a productive study setup. You may not be aware of how much your chair affects your comfort and ability to concentrate. Start by adjusting the height so that your knees are level with or slightly below your hips and your feet are flat on the ground or on a firm footrest. In addition to relieving pressure on your lower back and maintaining an upright posture during extended study periods, this open hip stance naturally supports the S-curve of your spine.
To keep that natural curve, a supportive chair should also offer strong lumbar support. If yours doesn’t, you can make do by using a rolled-up towel or a tiny pillow behind your lower back. By making these minor changes, you can ease tense muscles and avoid the typical soreness that comes with working at your desk after hours.
If you find your armrests constantly bumping into your desk or forcing you to sit too far back, you might benefit from going armless. It allows you to pull your chair in closer and align your elbows comfortably under your shoulders. You can explore more on this in our guide to armless office chairs. Comfortable seating isn’t just about avoiding pain—it’s the foundation of sharper focus. In fact, research from ISKU’s ergonomic seating study shows that students who sit comfortably are less distracted and more engaged in their work.
2. Raise Your Screen to Meet Your Eyes
Your screen’s position directly affects your neck and shoulder health. Position your monitor so your eyes naturally align with the upper part of the display, keeping it roughly one arm’s distance away—close enough to read clearly, but far enough to ease strain on your neck and eyes. This simple alignment keeps your head balanced over your spine, eliminating the strain caused by bending your neck forward. Over time, that common “tech neck” posture can lead to tension headaches, tight shoulders, and long-term discomfort.
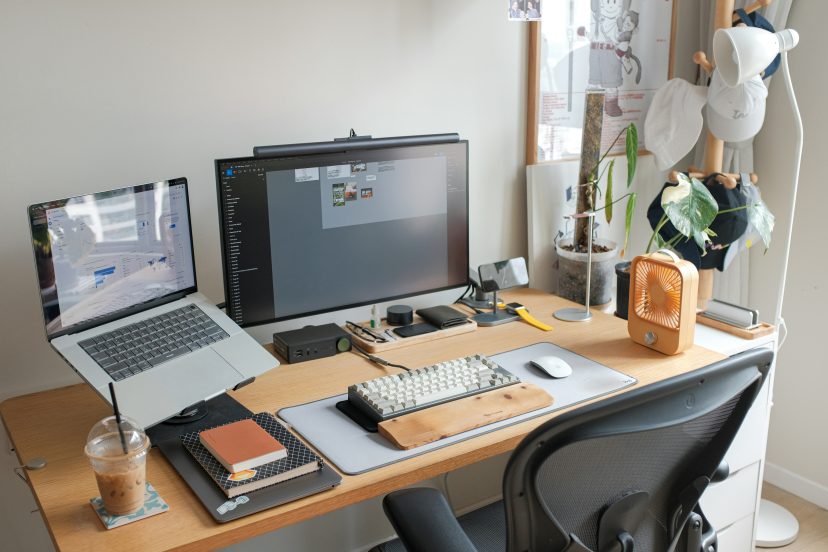
Laptop users face an extra challenge since most screens sit far too low. The fix is simple: elevate your laptop using a stand—or even a few stacked textbooks—and pair it with an external keyboard and mouse. This setup allows your eyes to meet the screen naturally while your arms remain relaxed and close to your body.
To reduce glare and reflections, place your monitor at a right angle to any nearby windows instead of directly facing or backing them. Your eyes will thank you for the softer, more balanced light, and your posture will improve without you even thinking about it. When your screen meets your line of sight, studying becomes less of a strain and more of a flow.
3. Keep Your Hands, Wrists, and Shoulders Aligned
Your wrists, elbows, and shoulders form the power trio of ergonomic comfort. While typing or using your mouse, keep your elbows tucked near your body and bent between 90 and 110 degrees for natural alignment. Your wrists should stay flat—not bent up, down, or sideways. This neutral position protects your tendons from strain and keeps your shoulders relaxed.
If your desk is too high, adjust your chair upward and use a footrest so your arms remain at desk level. Alternatively, consider using an adjustable keyboard tray that can bring your keys to the perfect height. Compact keyboards are also great for smaller desks, allowing you to keep your mouse closer and your shoulder alignment balanced.
The same principle applies to your chair setup—make sure your armrests (if you use them) don’t push you too far back. Armless chairs make it easier to pull in close and maintain your ideal typing posture. For longer study sessions, low-profile mechanical keyboards and ergonomic mice can make an enormous difference in comfort and endurance. Over time, this setup helps prevent wrist pain, shoulder tension, and fatigue, letting you stay focused on your work instead of your discomfort.

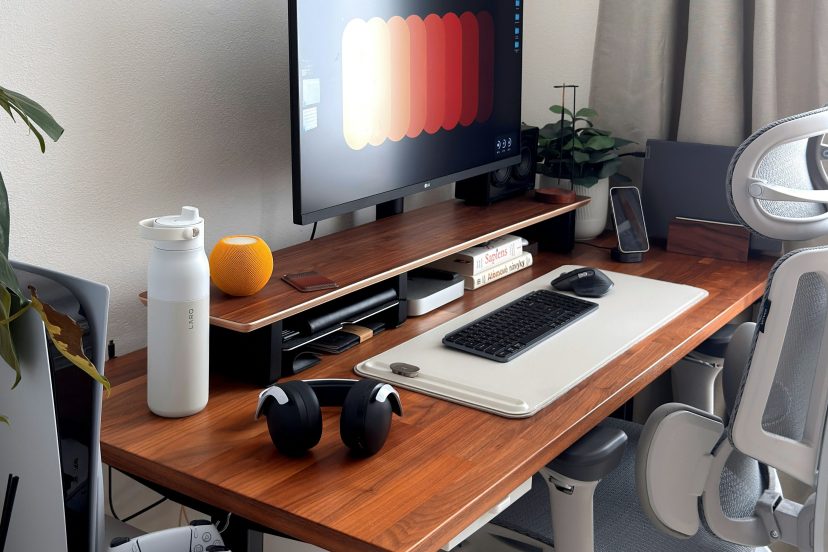
4. Light Up Your Desk the Right Way
Lighting can transform your study space from eye-straining to energizing. The best setup combines natural daylight with adjustable task lighting that reduces glare. Position your desk perpendicular to a window—so light washes across your workspace without reflecting directly on your screen. This setup provides consistent illumination without the sharp contrasts that tire your eyes.
If your room lacks natural light, choose a desk lamp with adjustable brightness and a flexible arm so you can direct light exactly where you need it. During the day, cooler white light mimics daylight and helps keep you alert. In the evening, warm tones ease eye strain and support your body’s natural sleep rhythm.
You can also try the 20-20-20 strategy to help your eyes recover from screen fatigue. After twenty minutes of studying, look toward something in the distance—around twenty feet away—and keep your gaze there for about twenty seconds to relax your eye muscles. It’s a simple yet powerful habit to prevent digital eye fatigue. Proper lighting does more than protect your vision—it boosts your focus, mood, and energy, making those long study hours feel a little easier.
5. Clear the Clutter and Make Space to Move
Finally, think beyond posture and light—think space. The area under and around your desk affects how freely you can move and how comfortably you can sit. Keep your knee space open and free from storage boxes, bags, or cords. When your legs have room to move, your blood circulation improves, and stiffness becomes far less likely.
A clutter-free desktop also has a surprising mental effect. Fewer items within view mean fewer distractions for your brain to process. Keep only the essentials—your laptop, a notebook, a pen, and perhaps a water bottle—within easy reach. This minimalist approach keeps your study zone organized and mentally calming.
If you find yourself fidgeting or feeling restless after a while, that’s your body asking for movement. Take short breaks to stand, stretch, or walk around your room. Even a quick change of position keeps your muscles active and your concentration sharp. By maintaining clear space both physically and mentally, you create an environment where productivity and comfort work hand in hand.
Recommended Study-Friendly Gear
- Oline ErgoPro Ergonomic Chair – Adjustable lumbar support and dynamic recline perfect for long study hours.
- Roost Laptop Stand – Lightweight, height-adjustable, and portable—ideal for keeping your laptop at eye level.
- Logitech MX Keys Mini Keyboard – Compact and ergonomic, allowing closer mouse positioning for relaxed shoulders.
- Anker Ergonomic Vertical Mouse – Promotes a natural handshake grip and reduces wrist rotation.
- BenQ e-Reading LED Desk Lamp – Flicker-free, adjustable brightness with ambient light detection.
Each item complements the ergonomic principles discussed above—neutral posture, proper screen height, and adequate lighting.
Quick Setup Checklist
| Category | Ergonomic Desk Setup Ideas |
| Chair Height | Feet flat on the floor, hips open, knees slightly below hips |
| Lumbar Support | Use a cushion or built-in curve to support your lower back |
| Screen Setup | Keep monitor at eye level and about one arm’s length away |
| Keyboard & Mouse | Maintain elbows at 90°, wrists straight and neutral |
| Lighting | Use glare-free light; combine daylight with soft lamp lighting |
| Space | Keep under-desk area clear for free leg movement |
| Breaks | Stretch or move for 1–2 minutes every 30–45 minutes |
Conclusion
You don’t need expensive gear or a fancy setup to create a comfortable, productive study space. The secret is balance—between posture, light, movement, and simplicity. Each of these ergonomic desk setup ideas is backed by both science and practicality. Start with one change today: maybe it’s raising your screen, adjusting your chair height, or decluttering your desk. You’ll quickly notice the difference—not just in how your body feels, but in how easily you can focus and retain information. Before your next study session, take five minutes to tweak your setup with these desk setup ideas. Your spine, your eyes, and your grades will thank you.
FAQs
1. What’s the easiest ergonomic desk setup ideas for students?
Start by adjusting your chair height. Ensuring your feet are flat and hips open instantly improves posture and comfort.
2. How far should you position your screen from your eyes?
Keep it roughly an arm’s length away (around 20–40 inches), with the top of the screen slightly below or aligned with your eyes.
3. Can I make an ergonomic setup on a budget?
Yes! Stack books for a laptop stand, use a pillow for lumbar support, and repurpose a sturdy box as a footrest.
4. How frequently should you take breaks during study sessions?
Take a short stretch or walk every 30–45 minutes. Movement resets focus and prevents stiffness.
5. Why does clutter affect my concentration?
Visual clutter increases cognitive load and stress. A tidy workspace allows your mind to process information more efficiently.